
Our third week of improvisational quilting is now completed. As always, I am astounded by the talent and creativity that I get to work with! I am only "teaching" this class in terms of facilitating. They don't really need me (but shhh, don't tell them that).
Class #3 was about "stitch and flip" - which may or may not be a real term. Ha! I like making things up. I think it could also be called faux piecing or faux applique (faupplique, if you will).
Start by cutting 16 3.5" x 3.5" white squares. Take a scrap of fabric of any size (a triangle or rectangle is nice), and with right sides together, sew it to one corner of one of the white squares. What you want is for the scrap to cover the corner when it's folded over and ironed. It may take a little bit of eyeballing to get the hang of it (because it feels like you are actually sewing it upside down and backwards). Repeat with the rest of the squares.

Fold the scraps over to cover the white corner, iron flat, and then trim even with the square.

Arrange 16 squares as desired, sew together, and iron. Trim block to 12.5"x12.5".
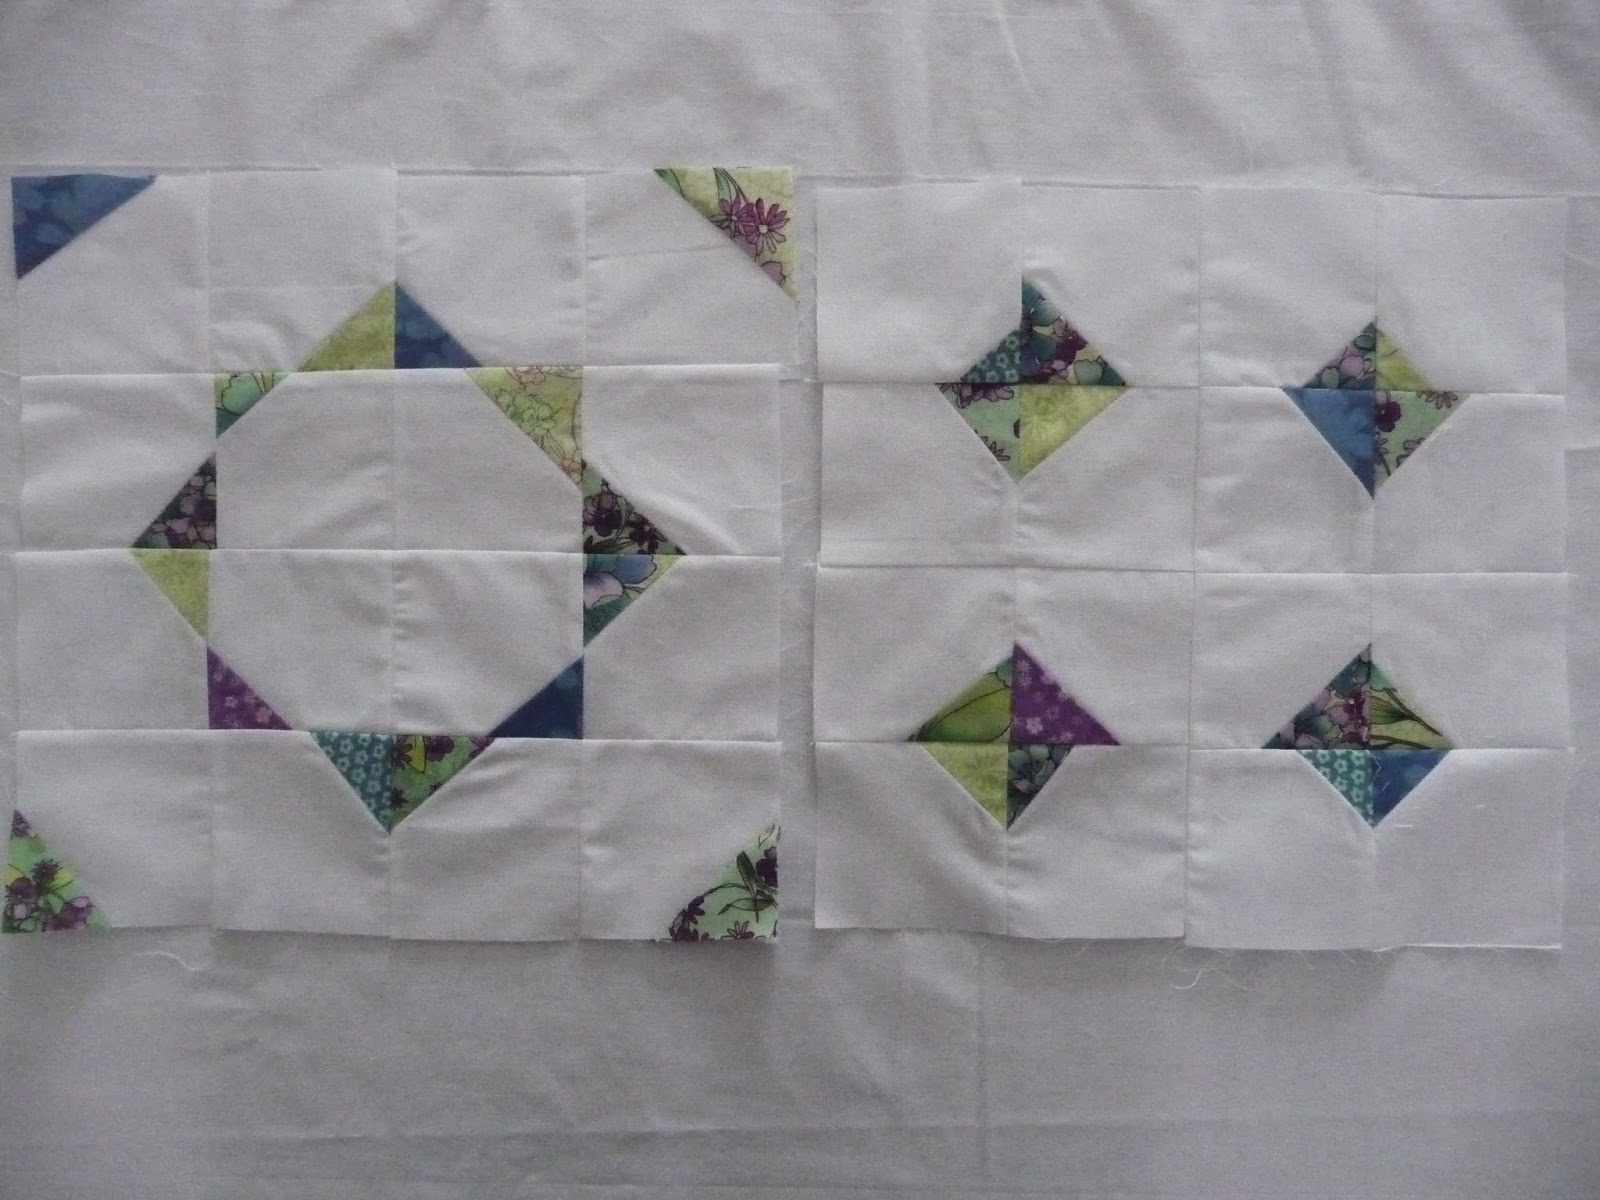
This is how I arranged my two blocks. You can tell that they are pretty wonky and nothing really matches up - but I'm operating under the philosophy that if nothing matches up, then it looks like it's supposed to be that way! Don't give away my secrets, please.
I wish I had gotten pictures of everyone's block variations, but I just managed to snap this one. One of the participants went a step beyond a single stitch-and-flip and went for opposite corners of every square. Here's what she came up with (I absolutely love it!):

Three more classes to go ... we'll be revisiting the stitch and flip for a second week next time!
No comments:
Post a Comment